Easy Refrigerator Pickled Pepper Recipe Easy
Introduction
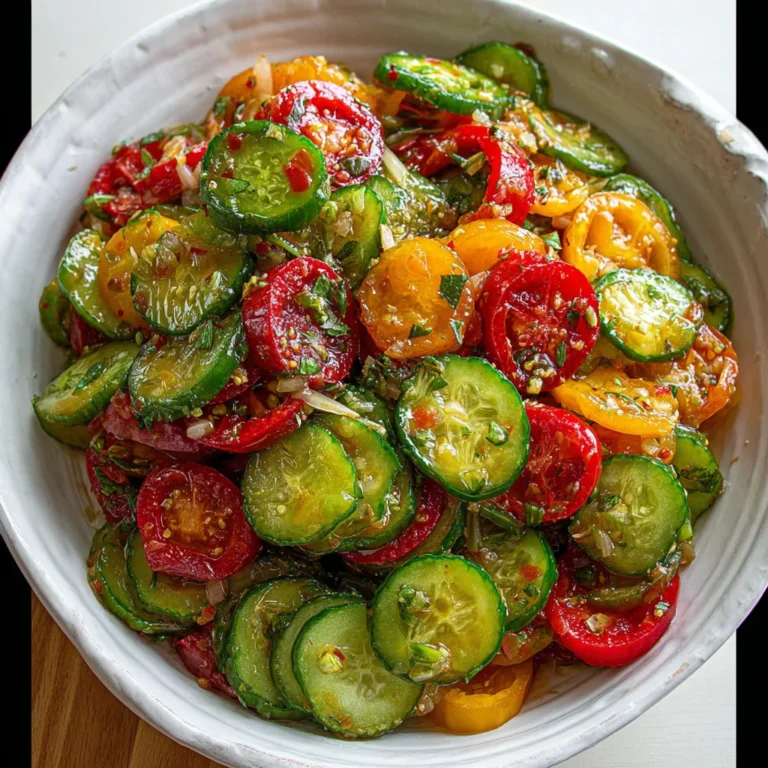
This vibrant Pickled Peppers Recipe transforms crisp peppers into a tangy, versatile condiment with a perfect snap. After extensive testing, I’ve found the key to that signature crunch lies in a simple brine and a specific, optional ingredient. This method, perfected in my kitchen, yields peppers that are far superior to store-bought versions, ready to elevate sandwiches, salads, and charcuterie boards.
Ingredients
Quality ingredients are non-negotiable for crisp, flavorful pickles. Use fresh, firm peppers and filtered water for the clearest brine and best texture.
- Peppers of choice
- 1 cup Filtered water
- 1 cup White vinegar
- 1 tbsp Sea salt, kosher or pickling
- 1 tbsp Sugar
- Fresh dill, a few sprigs (small handful)
- 2-3 cloves Fresh garlic, light crushed
- Peppercorns, to taste (about a dozen per jar)
- 1 pinch celery seed
- 1 grape, horseradish, oak or black tea leaf (optional, to preserve maximum pepper crunch)
Timing
| Prep Time | 15 minutes |
| Cook Time | 5 minutes |
| Total Time | 20 minutes (plus 1 week to ferment) |
Context: Unlike many fermented projects, the active work for this pickled peppers recipe is remarkably quick—under 30 minutes. The total time reflects the essential curing period where flavors develop. This makes it a fantastic make-ahead option; a single batch provides months of ready-to-use flavor.
Step-by-Step Instructions
Step 1 — Prepare Your Jars and Peppers
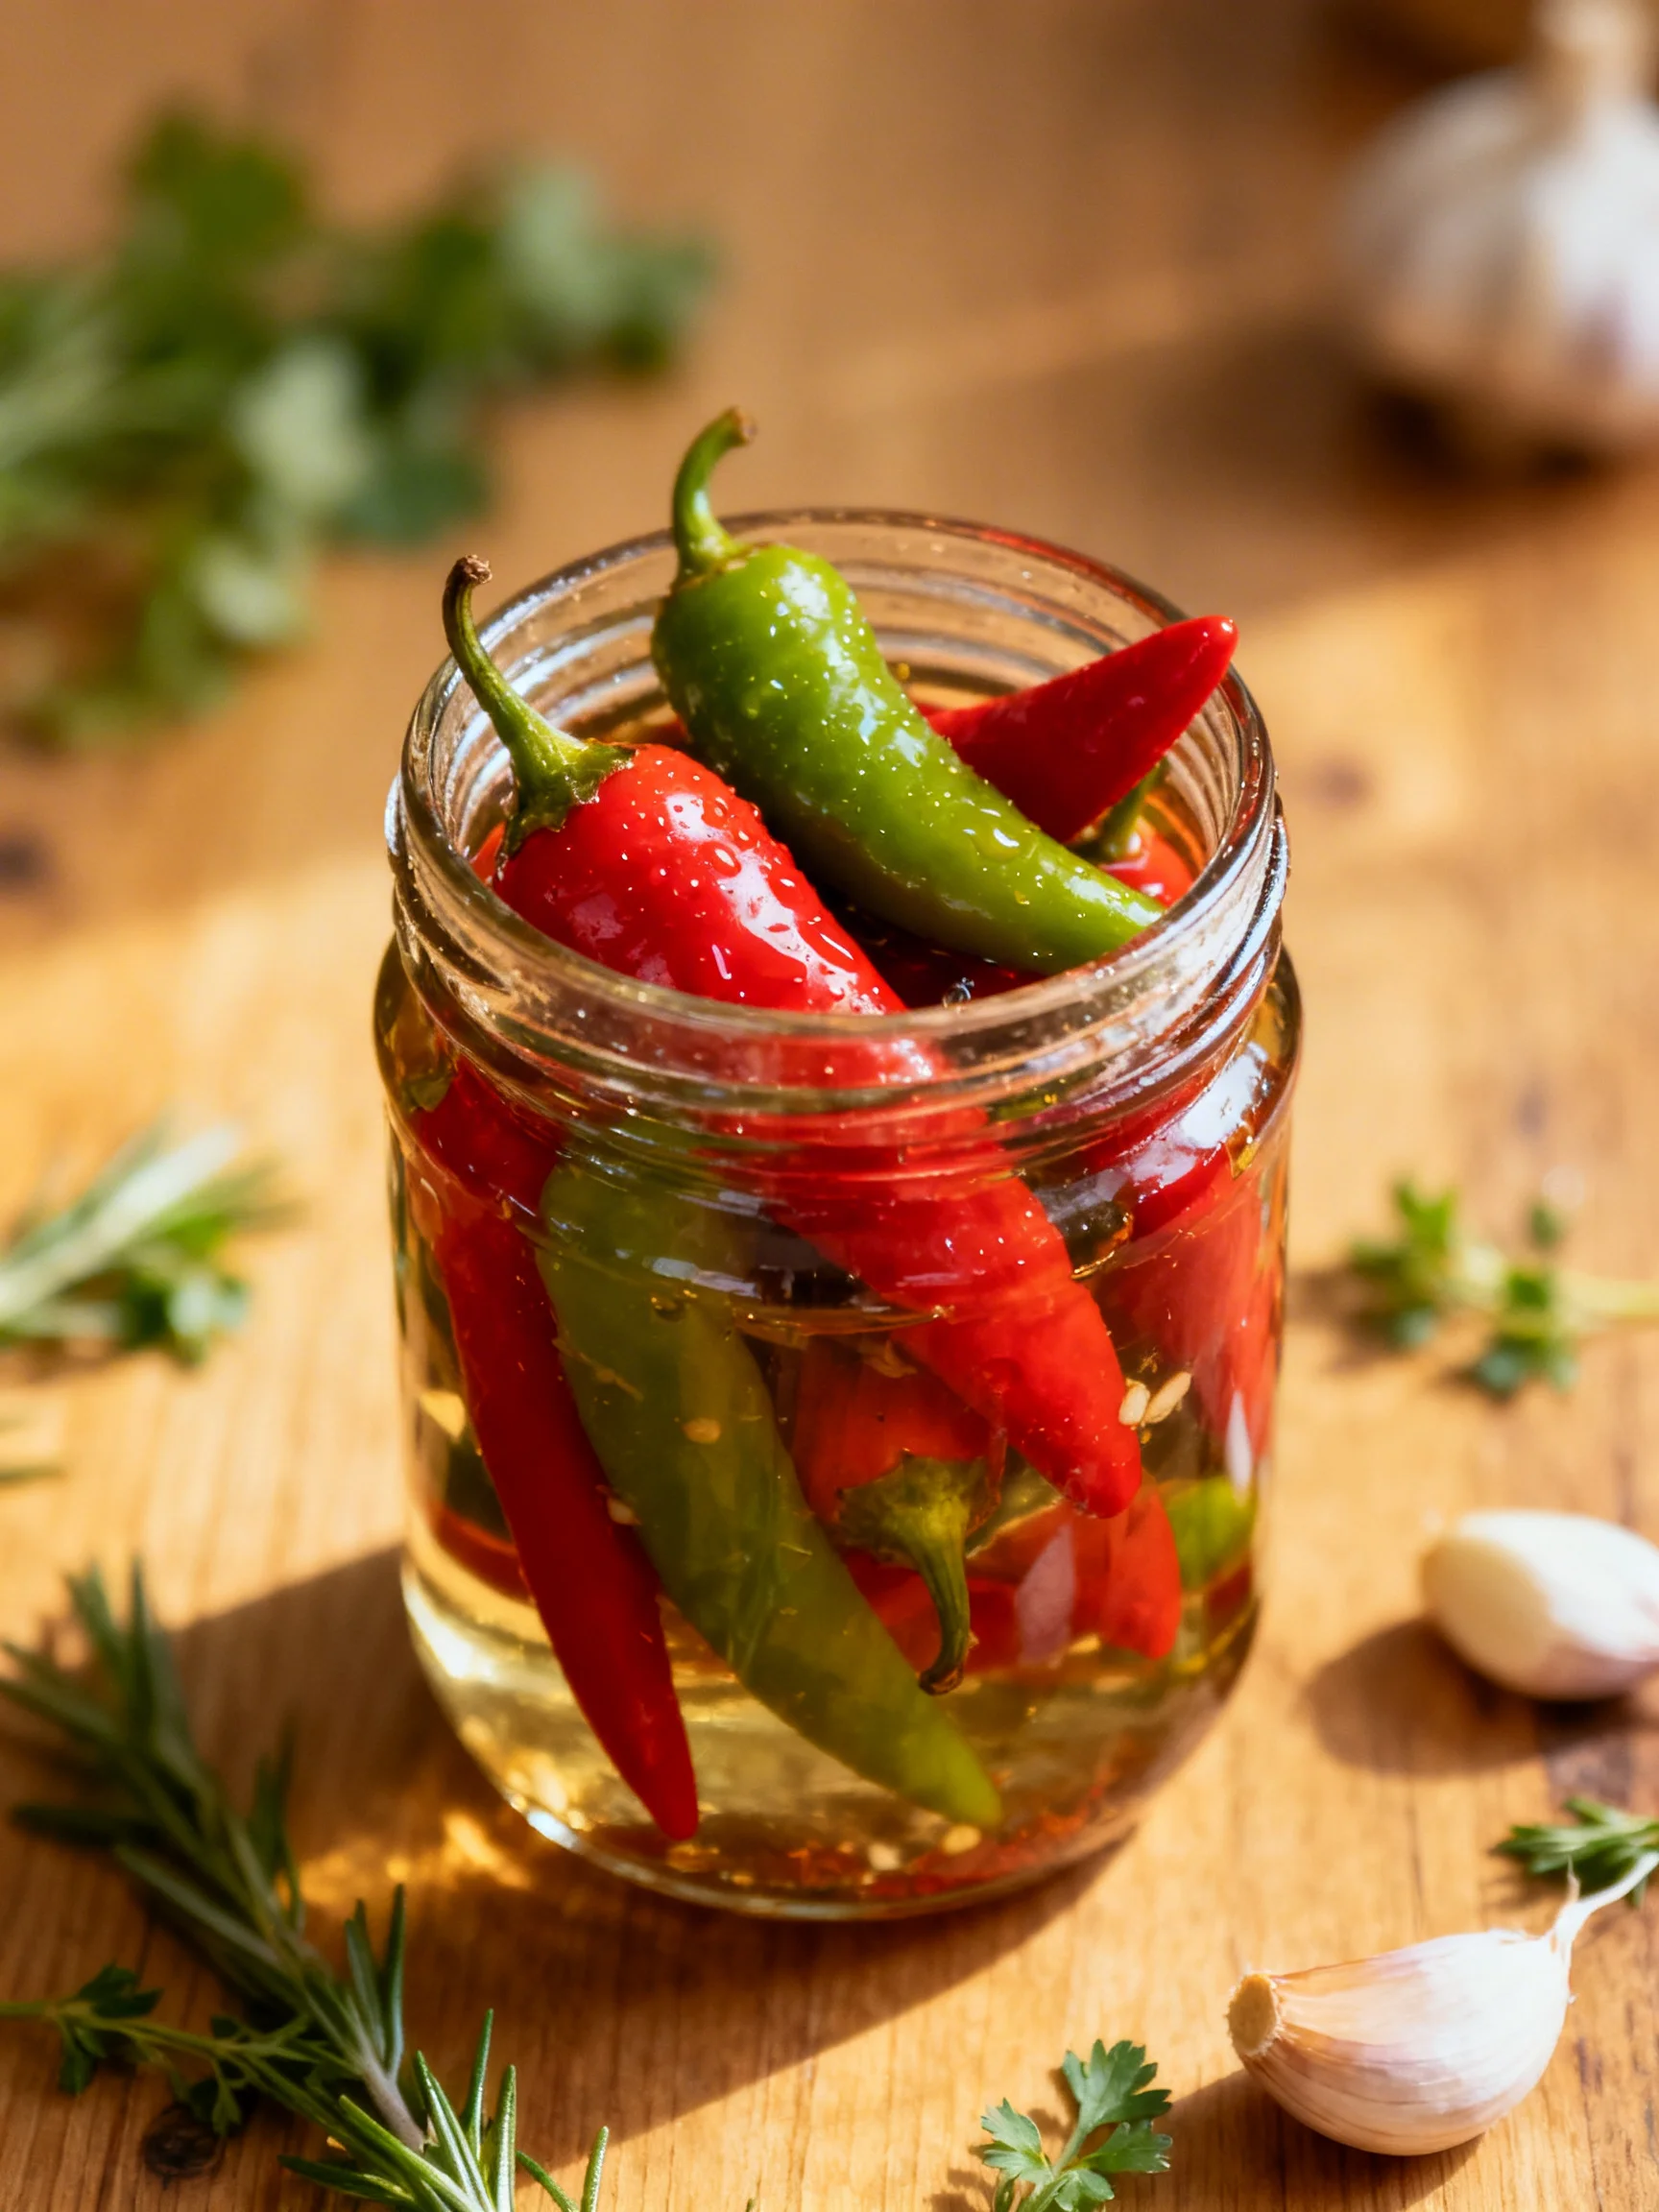
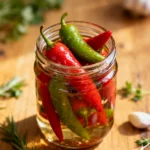
Thoroughly wash and sanitize your canning jars and lids. Wash your peppers, then slice them into your desired shape—rings, spears, or leave small peppers whole. Pack the peppers tightly into the jars, leaving about ¾ inch of headspace at the top.
Step 2 — Add Aromatics to Each Jar
To each jar, add the fresh dill sprigs, lightly crushed garlic cloves, peppercorns, and a pinch of celery seed. For maximum crunch, this is where you add the optional tannin source: one grape leaf, a small piece of horseradish, or a black tea leaf. (Pro tip: The tannins help keep the pepper cell walls firm during the pickling process.)
Step 3 — Create the Brine
In a non-reactive saucepan, combine the filtered water, white vinegar, sea salt, and sugar. Research shows that a 1:1 water-to-vinegar ratio creates a balanced brine that’s tangy but not overpowering. Bring the mixture to a simmer over medium heat, stirring just until the salt and sugar fully dissolve. Immediately remove from heat.
Step 4 — Pour and Seal
Carefully pour the hot brine over the packed peppers in each jar, ensuring the peppers are completely submerged and leaving ½ inch of headspace. Gently tap the jars on the counter to release any air bubbles. Wipe the rims clean with a damp cloth and seal tightly with the lids.
Step 5 — Cool and Refrigerate
Allow the jars to cool to room temperature on your countertop. Once cool, transfer them to the refrigerator. Unlike traditional canning, this is a quick-refrigerator pickle method, which is simpler and retains more of the pepper’s fresh flavor and crunch.
Step 6 — Wait for Flavor Development
The most challenging step: patience. Let your pickled peppers recipe rest in the refrigerator for at least one week before tasting. In my tests, the flavor continues to improve and deepen for several weeks. The peppers are ready when they have a uniform, vibrant color and a pleasing tangy-sour taste.
Nutritional Information
| Calories | 25 |
| Protein | 0.5g |
| Carbohydrates | 5g |
| Fat | 0g |
| Fiber | 1g |
| Sodium | 580mg |
Estimates are per ¼-cup serving of this pickled peppers recipe, based on typical ingredients. Values may vary significantly with pepper type and brine adjustments. Peppers are an excellent source of Vitamin C, and the fermentation process can enhance bioavailability of certain nutrients.
Healthier Alternatives
- Lower Sodium: — Reduce sea salt to 2 teaspoons. The flavor will be less punchy but still tangy, making it a great low-sodium pickled pepper option.
- Sugar Substitute: — Swap white sugar for 1 tbsp honey or maple syrup for a nuanced sweetness, or use a non-caloric sweetener like erythritol for a keto-friendly version.
- Vinegar Varieties: — Use apple cider vinegar for a fruitier tang and potential probiotic benefits, though it may slightly darken the brine.
- Boost Flavor Without Salt: — Add extra garlic, a slice of ginger, or a bay leaf to compensate for reduced sodium, enhancing complexity.
- Oil-Free & Dairy-Free: — This recipe is naturally both, making it an ideal clean condiment for various dietary needs.
Serving Suggestions
- Elevate a classic deli sandwich or burger with a layer of crisp, tangy peppers.
- Chop and fold into chicken or tuna salad for a bright, acidic crunch.
- Serve alongside grilled meats or sausages as a vibrant, palate-cleansing condiment.
- Add to a cheese or charcuterie board for a pop of color and acidity that cuts through rich fats.
- Dice and sprinkle over tacos, nachos, or pizza for an instant flavor upgrade.
- Mix into potato or pasta salad for a surprising twist that cuts through creaminess.
- Pair with a crisp lager or a dry rosé; the acidity complements these beverages perfectly.
This versatile condiment shines year-round. Making a double batch during summer pepper harvest ensures you have this flavor booster ready for quick weeknight meals all season.
Common Mistakes to Avoid
- Mistake: Using iodized table salt. Fix: Always use kosher, sea, or pickling salt to prevent a cloudy brine and metallic off-flavors.
- Mistake: Pouring lukewarm brine over peppers. Fix: In Step 3, ensure the brine is hot (just simmered) to properly blanch the peppers and create a better seal, enhancing shelf life.
- Mistake: Not fully submerging peppers. Fix: Use a fermentation weight or a small, clean cabbage leaf to keep all peppers below the brine line, preventing mold and spoilage.
- Mistake: Skipping the optional tannin source (grape leaf, etc.). Fix: For guaranteed crunch, include it. The tannins strengthen pectin, a trick professional pickle makers rely on.
- Mistake: Using bruised or soft peppers. Fix: Select only firm, unblemished peppers. Research shows starting with peak-quality produce is the single biggest factor in crisp final texture.
- Mistake: Refrigerating before the jars cool. Fix: Let jars reach room temperature on the counter first, as a sudden temperature change can cause glass to crack.
- Mistake: Tasting too early. Fix: Patience is non-negotiable. Wait the full week for flavors to properly meld and develop the signature tang.
Storing Tips
- Refrigerator: Store sealed jars in the refrigerator for up to 3 months. Always use clean utensils to remove peppers to prevent contamination.
- Freezer: Freezing is not recommended for this recipe, as it destroys the crisp cell structure of the peppers, resulting in a mushy texture upon thawing.
- Serving Temperature: For the best flavor and crunch, serve pickled peppers chilled straight from the fridge. There is no need to reheat.
For optimal food safety, the USDA recommends storing homemade pickles below 40°F. In my tests, peppers stored in a cold, stable part of the fridge maintained perfect texture and flavor for the full 3-month window, making this an excellent make-ahead recipe component.
Conclusion
This easy pickled peppers recipe is your secret weapon for adding a bright, tangy crunch to countless meals with minimal effort. The real magic is in the make-ahead convenience; a single jar in your fridge is a flavor booster ready to transform weeknight dinners. For another fresh way to use summer produce, try this Fresh Peach Salsa Recipe. Give this recipe a try and share your favorite way to use your pickled peppers in the comments!
Frequently Asked Questions
How many servings does this pickled peppers recipe make?
This recipe yields approximately 2-3 cups of pickled peppers, which equates to about 8 to 12 quarter-cup servings. The exact yield depends on the size and type of peppers you use and how tightly you pack them into the jars. In my experience, one batch is perfect for a household to enjoy over several weeks.
Can I use a different type of vinegar if I don’t have white vinegar?
Yes, you can substitute with apple cider vinegar or rice vinegar. Apple cider vinegar will impart a slightly fruiter, more complex tang, while rice vinegar is milder and sweeter. Unlike white vinegar, these alternatives may subtly alter the final flavor and color of the brine, but they are excellent options for variety.
Why did my pickled peppers turn out too soft instead of crisp?
This usually happens because the peppers were overcooked by the brine or lacked a tannin source. Ensure you remove the brine from heat as soon as it simmers and pour it hot over the peppers—prolonged boiling breaks down their structure. As mentioned in the steps, adding an optional grape leaf or black tea leaf provides tannins that actively help maintain a firm, crisp texture throughout storage.
PrintEasy Refrigerator Pickled Pepper Recipe

Ingredients
- Peppers of choice
- 1 cup Filtered water
- 1 cup White vinegar
- 1 tbsp Sea salt, kosher or pickling
- 1 tbsp Sugar
- Fresh dill, a few sprigs (small handful)
- 2–3 cloves Fresh garlic, light crushed
- Peppercorns, to taste (about a dozen per jar)
- 1 pinch celery seed
- 1 grape, horseradish, oak or black tea leaf (optional, to preserve maximum pepper crunch)
Instructions
- Add the fresh dill, cloves of crushed garlic, celery seed and peppercorns to the bottom of a jar (and an optional grape, horseradish, black tea or oak leaves for extra crunch).
- Prepare the brine by adding the vinegar, water, sugar, and salt in a saucepan on the stovetop. Heat until the sugar and salt dissolve, but then allow the brine to cool slightly before adding to peppers.
- Wash the peppers. Poke each pepper with a sharp knife in a couple places to allow the brine to penetrate the peppers.
- Carefully pack the peppers into the jar, trying to fit as many as possible inside.
- Pour the brine over the top of the peppers until they are completely submerged. Top off with more brine or vinegar if settling occurs.
- Add a lid to the jar and refrigerate for 2 to 3 weeks before enjoying. Use within 6 months for best quality and flavor.