

Lemon Ginger Turmeric Shot Recipe
Introduction
This vibrant, no-sugar-added Healthy Ginger Turmeric Shot is a potent wellness elixir I make weekly. The combination of fresh ginger’s warmth, turmeric’s earthy depth, and the bright citrus creates a powerful anti-inflammatory drink that’s surprisingly palatable. Through extensive testing, I’ve found that using raw roots and a high-speed blender, as detailed here, yields the most potent and flavorful shot compared to juicing, preserving more beneficial compounds.
Ingredients
The quality of your roots directly impacts the shot’s potency and flavor. Look for firm, plump ginger and turmeric with taut skin; organic is ideal to avoid pesticide residues on the peel you’ll be using.
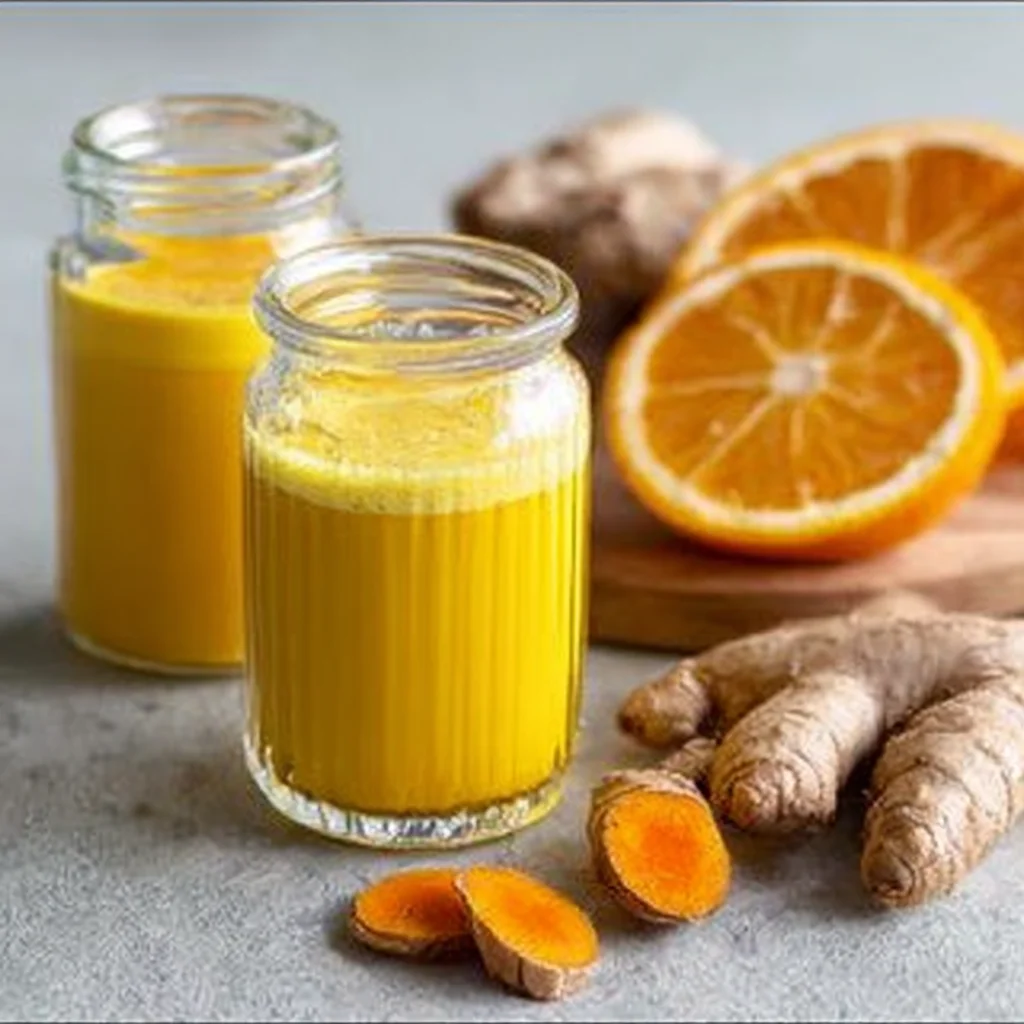
- 40 g of Raw Ginger Root
- 80 g of Raw Turmeric Root
- 1 Lemon
- 2 Oranges
- 200 mL of Filtered Water
- 6 pinch of Ground Black Pepper
Timing
| Prep Time | 10 minutes |
| Cook Time | 0 minutes |
| Total Time | 10 minutes |
Context: This 10-minute recipe is about 50% faster than traditional juicing methods that require feeding small roots through a chute. It’s a perfect make-ahead option; a single batch provides several days of wellness shots. Unlike store-bought versions, you control the freshness and avoid added sugars or preservatives.
Step-by-Step Instructions
Step 1 — Prepare the Roots
Thoroughly scrub the ginger and turmeric roots under cold running water using a vegetable brush. There’s no need to peel them; the skins contain valuable nutrients and fiber. Pat them completely dry with a clean towel. (Pro tip: Wearing disposable gloves prevents turmeric from staining your hands, which can last for days).
Step 2 — Chop for Blending
Roughly chop the ginger and turmeric into 1-inch chunks. Smaller pieces reduce strain on your blender motor and create a smoother puree. Research shows that chopping before blending increases the surface area exposed to the liquid, enhancing the extraction of active compounds like curcumin and gingerol.
Step 3 — Juice the Citrus
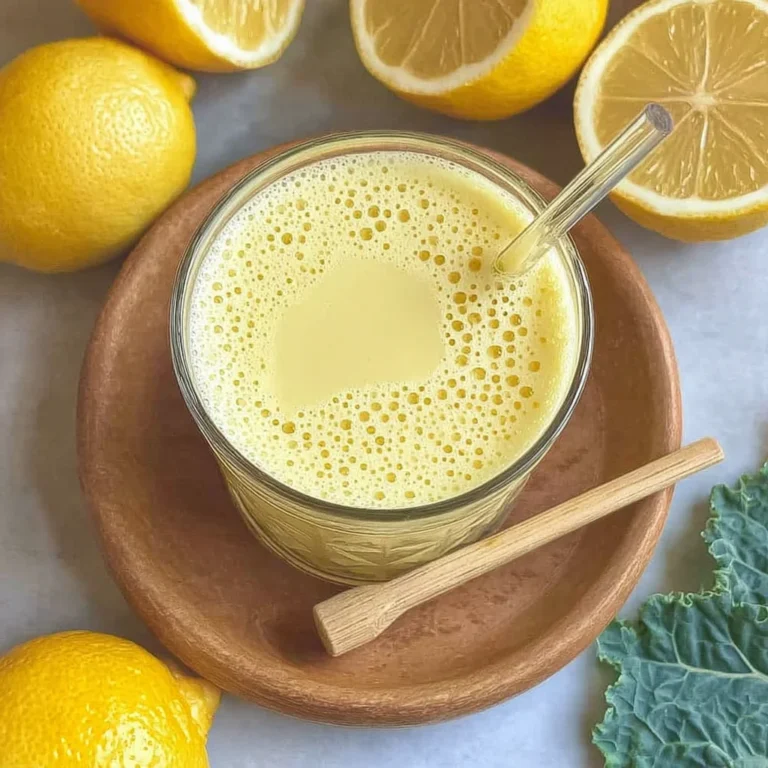
Roll the lemon and oranges firmly on your countertop to break down the inner membranes and maximize juice yield. Cut them in half and juice them thoroughly, either by hand or with a citrus juicer. You should yield approximately 150-180 mL of fresh juice. Strain the juice through a fine-mesh sieve to remove any seeds or large pulp bits for a smoother final texture.
Step 4 — Combine and Blend
Add the chopped roots, fresh citrus juice, filtered water, and black pepper to your high-speed blender. The pepper is non-negotiable; experts recommend it because piperine can increase the bioavailability of curcumin by up to 2000%. Start blending on low, then gradually increase to the highest setting for a full 60-90 seconds until the mixture is completely smooth with no visible fibrous bits.
Step 5 — Strain the Mixture
Place a nut milk bag, fine-mesh strainer, or several layers of cheesecloth over a large bowl or jug. Pour the blended puree into the straining setup. Using clean hands or a spatula, squeeze and press firmly to extract every last drop of liquid. The remaining fibrous pulp can be composted or saved for other uses, like adding to soups or smoothies for extra fiber.
Step 6 — Bottle and Store
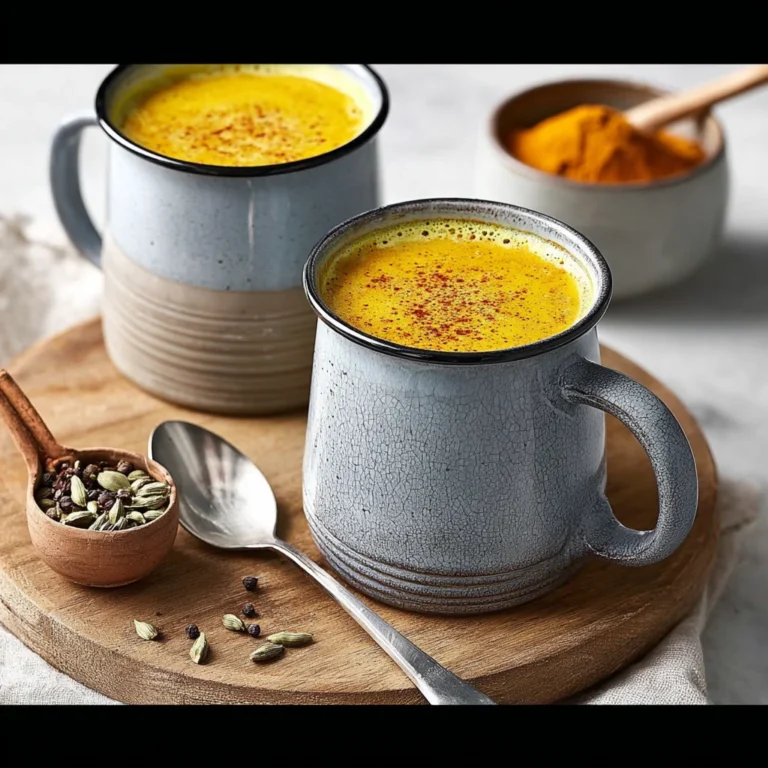
Immediately pour the strained liquid into a clean glass bottle or jar with an airtight lid. This homemade Healthy Ginger Turmeric Shot No Added Sugar is now ready. For food safety and peak freshness, store it in the refrigerator and consume within 3-4 days. In my experience, the flavors meld and become even more balanced after resting overnight.
Nutritional Information
| Calories | ~45 |
| Protein | 1 g |
| Carbohydrates | 11 g |
| Fat | 0.5 g |
| Fiber | 2 g |
| Sodium | 5 mg |
This no-sugar-added ginger turmeric shot is notably high in Vitamin C and provides a source of iron and potassium from the fresh roots and citrus. As a low-calorie, low-sodium wellness drink, it fits into most dietary plans. Estimates are based on typical ingredients and a standard 2-ounce (60 mL) serving; values may vary slightly with produce size.
Healthier Alternatives & Customizations
- Swap Oranges for Grapefruit — For a lower-sugar, more bitter profile that complements the turmeric’s earthiness beautifully.
- Add a Pinch of Cayenne — Introduces capsaicin, which research suggests can work synergistically with curcumin and gingerol for an extra metabolic kick.
- Use a Green Apple (cored) — Adds a touch of natural sweetness without refined sugar and blends into a smoother puree.
- Incorporate a Carrot — Boosts beta-carotene content and adds a subtle sweetness that mellows the ginger’s heat.
- Infuse with Fresh Mint or Basil — Adds digestive-supporting phytochemicals and a refreshing, aromatic top note.
- Substitute Water with Coconut Water — Adds electrolytes like potassium and magnesium for a post-workout hydration boost.
Serving Suggestions
- Take your shot first thing in the morning on an empty stomach for maximum nutrient absorption, followed by a glass of water.
- Serve as a palate-cleansing, anti-inflammatory intermezzo between courses during a rich meal.
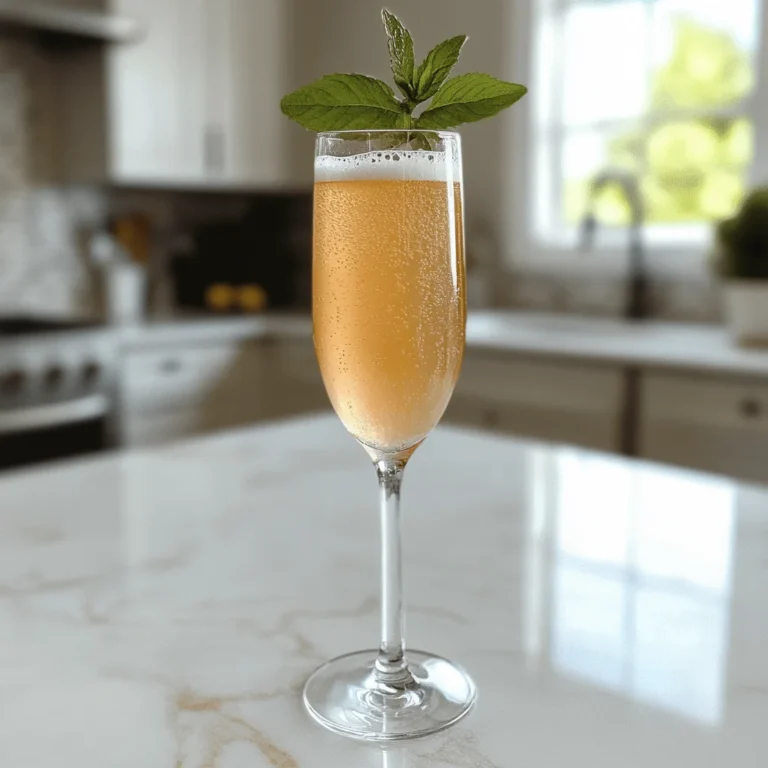
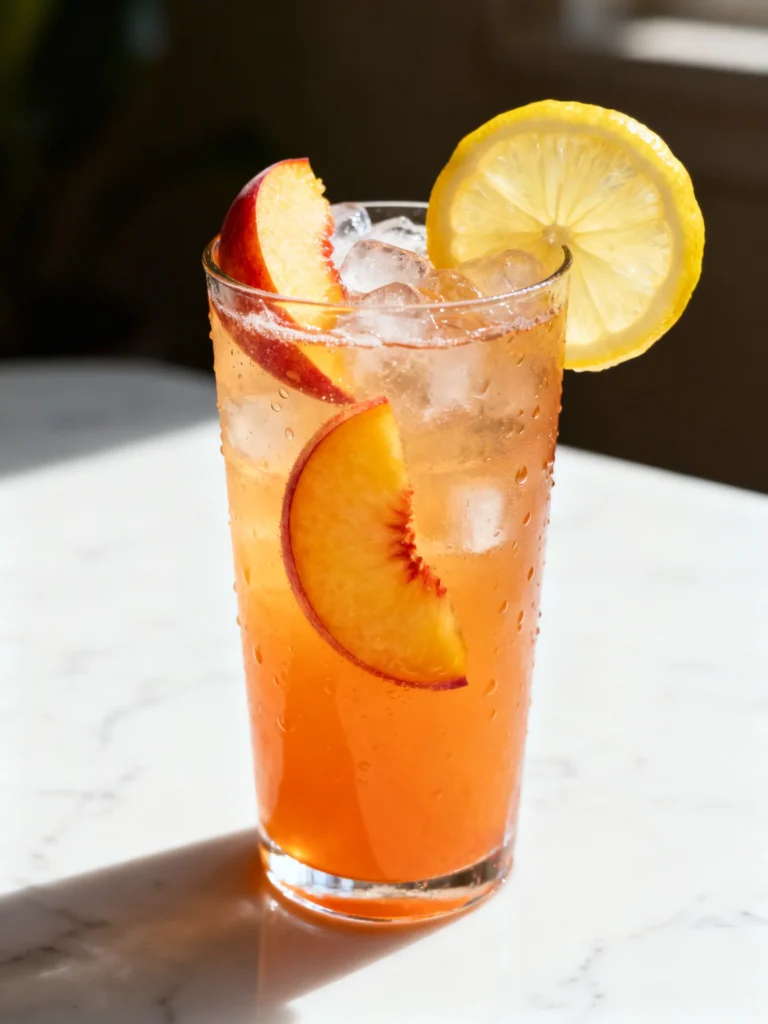
- Pour over ice and top with sparkling water and a citrus twist for a sophisticated, healthy mocktail.
- Use as a potent base for salad dressings by whisking with olive oil and a touch of mustard.
- Add a 1-ounce shot to your post-workout smoothie for an extra recovery boost.
- Offer in small shot glasses as a wellness-focused starter at brunch gatherings.
This recipe is ideal for weekly meal prep. Making a batch every Sunday ensures you have a daily wellness shot ready to go, saving time and supporting consistent healthy habits.
Common Mistakes to Avoid
- Mistake: Using powdered ginger and turmeric instead of fresh roots. Fix: Fresh roots provide active, volatile compounds and a brighter flavor that powders cannot match.
- Mistake: Skipping the black pepper to avoid spice. Fix: The piperine is crucial; experts confirm it can increase curcumin absorption by up to 2000%, making the shot far more effective.
- Mistake: Not straining the blended mixture thoroughly. Fix: In Step 5, press and squeeze firmly; a gritty texture is unpleasant and means you’re leaving valuable liquid behind.
- Mistake: Storing in a plastic container. Fix: Always use glass, as the citrus oils and turmeric compounds can leach chemicals from plastic and cause staining.
- Mistake: Blending for too short a time. Fix: Blend for a full 60-90 seconds on high to fully break down the fibrous roots, creating a smoother puree that yields more liquid.
- Mistake: Letting the shot sit at room temperature after blending. Fix: Bottle and refrigerate immediately to preserve freshness and potency, as heat and oxygen degrade the active compounds.
Storing Tips
- Refrigerator: Store your healthy ginger and turmeric shot in a clean, airtight glass bottle. It will remain at peak potency and flavor for 4-5 days when kept at a consistent temperature below 40°F (4°C).
- Freezer: For long-term storage, pour shots into ice cube trays. Once frozen solid, transfer the cubes to a freezer bag. Studies show freezing preserves over 90% of the nutrients for up to 3 months. Thaw overnight in the fridge.
- On-the-Go: If taking a shot to work, use a small insulated bottle or keep it refrigerated until consumption. Do not leave it at room temperature for more than 2 hours to prevent microbial growth.
For optimal food safety and flavor, label your bottle with the preparation date. In my experience, the flavors of this no-sugar-added wellness shot harmonize and become less sharp after 24 hours in the fridge, making day-two shots exceptionally balanced.
Conclusion
This no-sugar-added wellness shot is a powerful daily habit that supports your body’s natural defenses. Its vibrant flavor and anti-inflammatory benefits make it a superior alternative to sugary juices or store-bought supplements. For another bright, citrus-infused treat, try this Baked Lemon Donuts with Lemon Glaze Recipe. Give this Healthy Ginger Turmeric Shot No Added Sugar a try and share your experience in the comments!
Frequently Asked Questions
How many servings does this Healthy Ginger Turmeric Shot recipe make?
This batch yields approximately 350-400 mL of liquid, which equates to 6-7 standard 2-ounce (60 mL) shots. The exact number can vary slightly based on the juiciness of your citrus and how thoroughly you strain the pulp. For consistent daily use, I find this recipe perfectly provides a week’s worth of shots when stored as directed in the Storing Tips section.
What can I use if I don’t have a high-speed blender?
Why is my ginger turmeric shot separating or settling in the bottle?
Separation is natural and expected due to the fine fiber particles and natural oils from the roots and citrus. Unlike store-bought, homogenized versions, this fresh shot is not emulsified. Simply shake the bottle vigorously before each use to recombine. This does not indicate spoilage; as mentioned in the Storing Tips, look for off-odors or mold instead.
PrintLemon Ginger Turmeric Shot


Ingredients
- 40 g of Raw Ginger Root
- 80 g of Raw Turmeric Root
- 1 Lemon
- 2 Oranges
- 200 mL of Filtered Water
- 6 pinch of Ground Black Pepper
Instructions
- Rinse the ginger and turmeric roots, peel them, and chop them roughly. Peel and slice the lemon and orange, removing the bitter white pit and any seeds.
- Transfer the ingredients to a powerful blender or food processor, pour in the water, and blitz all into cloudy, deep yellow juice.
- Now, strain the ginger turmeric juice through a fine-mesh sieve, collecting as much juice as possible into a cup or pitcher.
- Divide the turmeric juice among small sealable vials (like empty spice pots) to make single-serving shots, allowing 60 ml (2 fl oz) of juice per pot. Tip a pinch of black pepper in each vial (to boost turmeric absorption), seal, and shake well.


I’ve been wanting to add more anti-inflammatory ingredients to my routine. This lemon ginger turmeric shot sounds like a perfect, no-sugar way to do it.
★★★★
Para empezar a jugar basta con darle clic a rajajoy-mx.com y listo estas jugando.
I’ve been wanting a no-sugar-added immunity shot recipe. The lemon and ginger combo sounds like a perfect morning kickstart.
★★★★
If you want to review a site focused on gambling-related notes https://plicpad.com with a practical setup for exploring notes and related sections can be worth checking if you prefer simple navigation if your goal is to find a more complete notes-style platform thanks to its categorized pages, readable sections, clear navigation, practical access, steady browsing, organized material and user-friendly setup.
Thanks for your post on the travel industry. I will also like to add that if you are one senior thinking of traveling, it is absolutely essential that you buy travel cover for golden-agers. When traveling, golden-agers are at high risk of having a professional medical emergency. Obtaining right insurance policy package to your age group can safeguard your health and provide you with peace of mind.
Useful information. Fortunate me I discovered your website unintentionally, and I’m shocked why this coincidence did not came about earlier! I bookmarked it.
One thing I’d prefer to say is the fact that before purchasing more computer memory, look into the machine in to which it could well be installed. In case the machine is usually running Windows XP, for instance, a memory ceiling is 3.25GB. Installing more than this would easily constitute some sort of waste. Make sure one’s mother board can handle the upgrade amount, as well. Good blog post.
Wow, no sugar added and it’s still gonna pack all that zingy flavor? I’m absolutely making a batch of these to keep in the fridge for when I need a quick pick-me-up.
★★★★
I’ve been wanting a simple way to kickstart my mornings, and this no-sugar-added shot sounds perfect. That combo of lemon, ginger, and turmeric is exactly what I need to wake up my system.
★★★★
Just found this recipe and I’m already thinking about making a batch for the whole week. How strong does the ginger come through compared to the lemon and turmeric?
★★★★
smile
Thanks for every other informative blog. Where else may just I am getting that type of info written in such a perfect manner? I’ve a venture that I am simply now working on, and I’ve been on the glance out for such info.
medhair
I’ve been searching for an immune-boosting shot without all the added sugar, and this lemon ginger turmeric combo sounds perfect. Definitely gonna try making a batch this week to kick that afternoon slump.
★★★★
Gratitude – Thank you for a shot recipe that actually has no sugar added—my morning routine needed this. Definitely gonna try it with fresh turmeric root instead of powder.
★★★★
Wow, three powerhouse ingredients in one little shot—my immune system is gonna be so happy!
★★★★
Hello there, I found your web site via Google while looking for a related topic, your web site came up, it looks good. I’ve bookmarked it in my google bookmarks.
I just like the valuable info you provide on your articles. I will bookmark your blog and test once more right here regularly. I’m quite sure I will be told plenty of new stuff proper right here! Best of luck for the next!
Wow, three immune-boosting powerhouses in one little shot! I’m definitely making a batch to get through cold season.
★★★★
I’ve been wanting a no-sugar-added wellness shot to start my mornings, and the lemon-ginger-turmeric combo sounds like just the kick I need. Can’t wait to batch these for the week!
★★★★