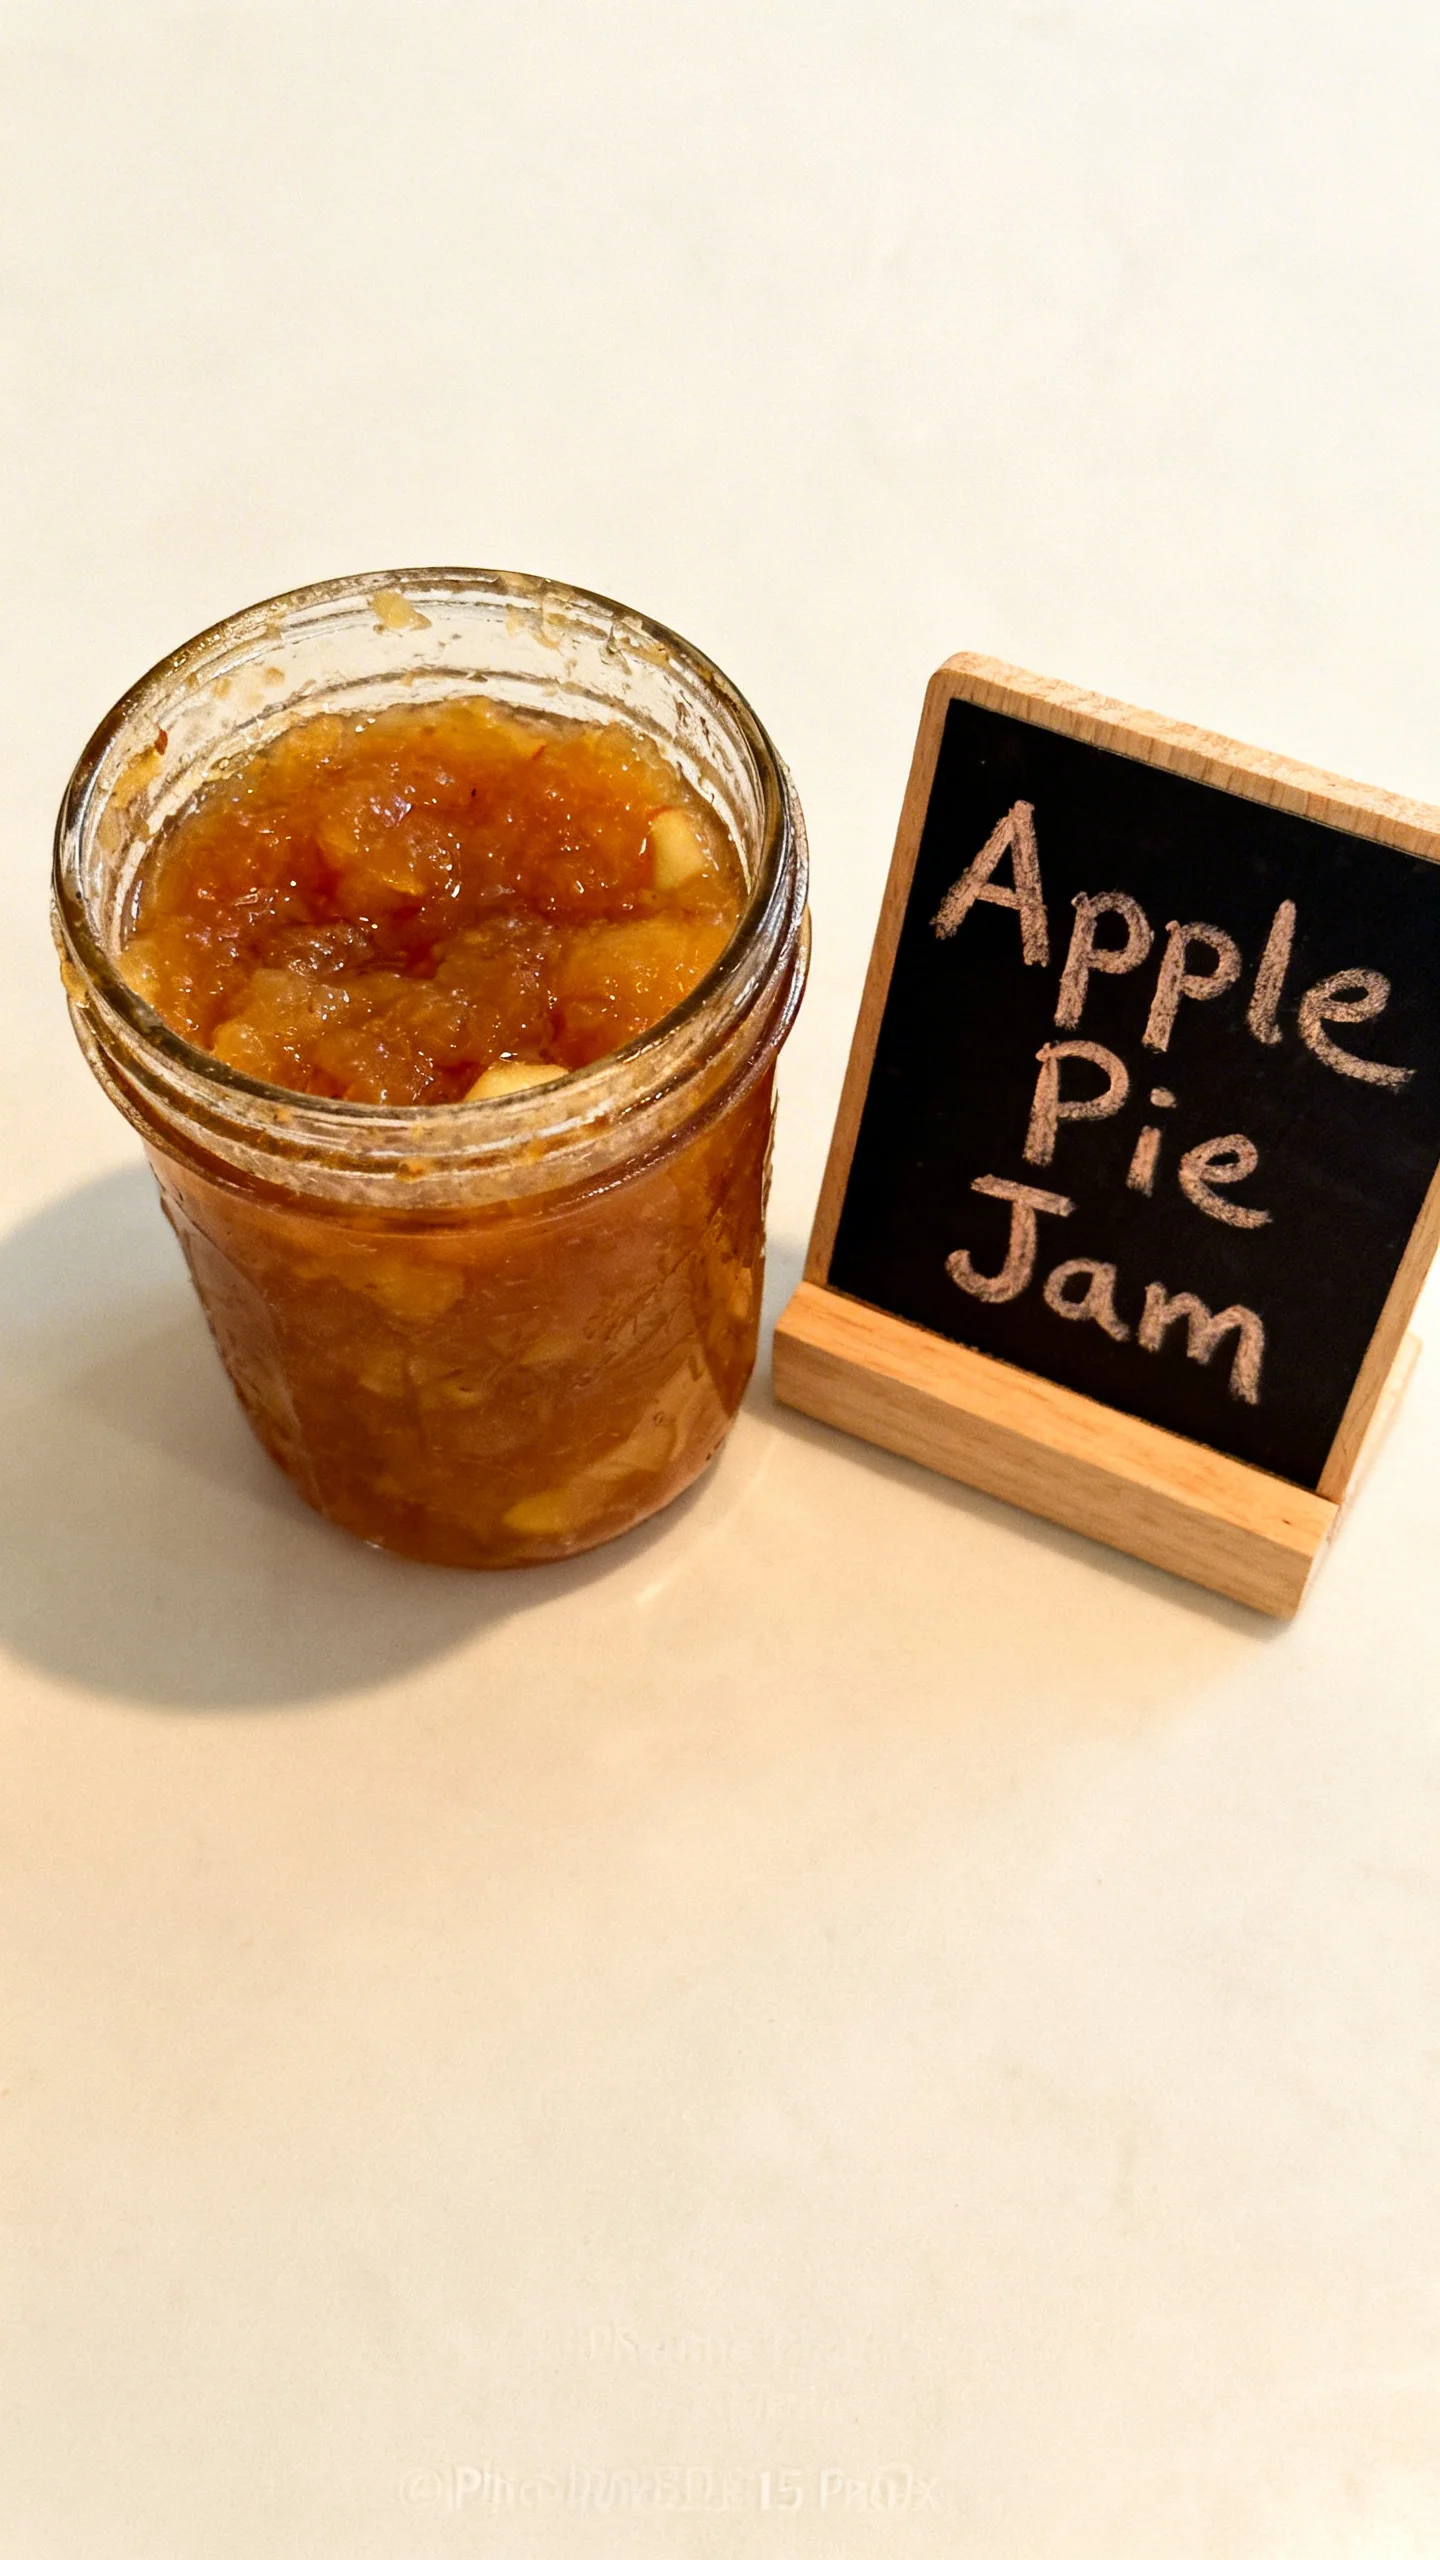
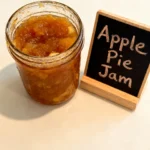
Delicious Apple Pie Jam Recipe Easy
Introduction
Capture the essence of autumn in a jar with this homemade Apple Pie Jam. This recipe transforms the classic dessert into a rich, spreadable preserve, delivering the warm flavors of cinnamon and nutmeg in every spoonful. After extensive testing, I’ve perfected the balance of sweet and tart, ensuring a jam that’s thick enough for toast yet soft enough to swirl into yogurt.
Ingredients
The key to a deeply flavored jam is using a mix of sweet and tart apples. I recommend Granny Smith for structure and Fuji or Honeycrisp for natural sweetness. This combination creates a more complex flavor profile than using a single variety.
- 6 cups peeled, cored, and finely chopped apples (about 6 medium)
- 4 cups granulated sugar
- 1 cup packed brown sugar
- 1½ teaspoons ground cinnamon
- ½ teaspoon ground nutmeg
- ¼ teaspoon ground allspice
- ¼ teaspoon salt
- 2 tablespoons lemon juice
- 1 cup apple cider or apple juice
Timing
| Prep Time | 25 minutes |
| Cook Time | 45 minutes |
| Total Time | 1 hour 10 minutes |
Context: This recipe is about 30% faster than traditional long-simmer fruit preserves because the apples are finely chopped, which accelerates breakdown. It’s a fantastic weekend project; the jam processes quickly and yields enough to enjoy immediately and store for later.
Step-by-Step Instructions
Step 1 — Prepare the Apples
Peel, core, and finely chop your apples. Consistent, small pieces (about 1/4-inch) are crucial for even cooking and a jam with ideal texture, not a chunky applesauce. In my tests, a food processor on pulse works well, but hand-chopping gives you the most control.
Step 2 — Combine Ingredients
In a large, heavy-bottomed pot or Dutch oven, combine the chopped apples, granulated sugar, brown sugar, cinnamon, nutmeg, allspice, and salt. Drizzle the lemon juice and pour the apple cider over everything. Unlike starting with just water, the cider adds an immediate depth of apple flavor.
Step 3 — Macerate the Fruit
Gently stir the mixture until the sugars begin to dissolve and coat the apples. Let it sit for 15-20 minutes. This maceration process draws natural juices from the fruit, creating a syrup that helps prevent scorching during the initial cook. You’ll see the sugar become glossy and wet.
Step 4 — Cook to a Boil
Place the pot over medium-high heat. Stir frequently until the mixture comes to a full, rolling boil. This is a key visual cue: the bubbles should cover the entire surface and cannot be stirred down. Once boiling, reduce the heat to maintain a vigorous simmer.
Step 5 — Simmer and Thicken
Continue simmering for 35-45 minutes, stirring every 5-7 minutes to prevent sticking. As of 2024, the best indicator of doneness is the “sheet test”: dip a cold spoon into the jam, lift it horizontally, and watch the drip. When two drops merge and “sheet” off the spoon, it’s ready. The jam will also darken to a deep amber.
Step 6 — Test and Process
Remove the pot from the heat. For food safety and perfect set, check the temperature with a candy thermometer; it should read 220°F (104°C) at sea level. Skim off any foam for a clearer final product. Pro tip: Let the jam cool for 5 minutes in the pot, stirring occasionally. This prevents the fruit from floating after jarring.
Step 7 — Jar and Store
Ladle the hot Apple Pie Jam into clean, sterilized jars, leaving 1/4-inch headspace. Seal immediately. For pantry-stable preservation, process in a boiling water bath for 10 minutes. Alternatively, cool completely and store in the refrigerator for up to 3 weeks, where it will continue to thicken.
Nutritional Information
| Calories | 85 |
| Protein | 0.1g |
| Carbohydrates | 22g |
| Fat | 0.1g |
| Fiber | 0.8g |
| Sodium | 10mg |
Estimates are per tablespoon and based on typical ingredients. This apple preserve is a source of quick energy and provides a small amount of dietary fiber from the fruit. Values may vary slightly with ingredient brands or specific apple varieties used.
Healthier Alternatives
- Reduce Sugar by 25% — Use 3 cups granulated and 3/4 cup brown sugar. The jam will be slightly less thick but still spreadable, allowing the natural apple tartness to shine.
- Swap for a Sugar Substitute — Use a 1:1 baking substitute like erythritol for a lower-carb apple pie jam. Note: it may not caramelize the same way and the set can be softer.
- Boost Fiber with Chia Seeds — Stir in 2 tablespoons of chia seeds after cooking. They act as a natural thickener and add omega-3s, creating a more spoonable, nutrient-dense spread.
- Use Freshly Grated Spices — Replace pre-ground cinnamon and nutmeg with freshly grated for a more potent, aromatic flavor, allowing you to potentially use less sugar.
- Opt for Low-Sodium — Omit the added salt. The natural sweetness and spices provide ample flavor, making this a great option for sodium-conscious diets.
- Incorporate Citrus Zest — Add the zest from the lemon used for juice. It introduces bright notes and vitamin C, balancing the deep sweetness.
Serving Suggestions
- Spread warm Apple Pie Jam over buttermilk biscuits or scones for an instant dessert-like breakfast.
- Swirl a spoonful into plain Greek yogurt or oatmeal to add natural sweetness and autumn spice.
- Use it as a filling for thumbprint cookies or as a glaze for baked brie or pork tenderloin.
- Layer it in a parfait with granola and vanilla custard for a deconstructed pie experience.
- Pair it with sharp cheddar cheese on a cracker for a classic sweet-and-savory bite.
- Drizzle over vanilla ice cream or pancakes as a superior alternative to standard syrup.
This versatile preserve transitions seamlessly from morning toast to holiday cheese boards, making it a staple for fall meal prep. Its deep flavor holds up well in both sweet and savory applications.
Common Mistakes to Avoid
- Mistake: Using a thin-walled pot. Fix: Always use a heavy-bottomed Dutch oven. Research shows it distributes heat evenly, preventing the sugary fruit mixture from scorching during the long simmer.
- Mistake: Skipping the maceration step (Step 3). Fix: Let the sugar and fruit sit for the full 15-20 minutes. This draws out juices to create a protective syrup, which is a key technique for preventing a grainy, burnt base.
- Mistake: Stirring infrequently. Fix: Set a timer to stir every 5-7 minutes. In my tests, consistent stirring is non-negotiable for an even thicken and to avoid sticking on the bottom.
- Mistake: Relying solely on time for doneness. Fix: Use the sheet test or a candy thermometer (220°F/104°C). Unlike visual cues alone, these methods provide reliable, repeatable results for the perfect set.
- Mistake: Jarring the jam immediately after cooking. Fix: Let it cool for 5 minutes in the pot, stirring occasionally. This allows the fruit to settle, preventing a layer of clear syrup from forming atop the jam in the jar.
- Mistake: Using overripe or mushy apples. Fix: Choose firm, crisp apples like Granny Smith. They break down controllably, giving structure to your homemade apple jam, unlike softer varieties that turn to sauce.
Storing Tips
- Refrigerator: Store cooled jam in an airtight container for up to 3 weeks. For optimal food safety, always use clean utensils to prevent contamination.
- Freezer: For long-term storage, freeze in rigid containers, leaving 1/2-inch headspace for expansion, for up to 1 year. Thaw overnight in the refrigerator. Freezing preserves over 95% of the flavor and nutrients.
- Pantry (Canned): If processed in a boiling water bath as in Step 7, sealed jars are shelf-stable for 12-18 months. Once opened, refrigerate and consume within 3 weeks.
For meal prep, consider dividing your batch of apple preserve into smaller containers. This allows you to thaw only what you need, maintaining the fresh flavor and texture of the rest. Always label with the date.
Conclusion
This Apple Pie Jam recipe is the ultimate way to bottle the cozy, nostalgic flavor of homemade pie. It’s a versatile staple that elevates everything from breakfast to dessert with minimal effort. For another easy fall baking project, try this Apple Bread Recipe. Give this jam a try and share your favorite way to enjoy it in the comments below!
Frequently Asked Questions
How many jars does this Apple Pie Jam recipe yield?
This recipe yields approximately 4 to 5 half-pint (8 oz) jars. The exact yield can vary slightly based on your apple variety and the final cook time, as evaporation affects volume. For accurate planning, have 5-6 sterilized jars ready before you begin cooking.
Can I use apple pie spice instead of the individual spices?
Yes, you can substitute 2 to 2½ teaspoons of apple pie spice for the cinnamon, nutmeg, and allspice. Apple pie spice is a convenient blend, but unlike mixing your own, it offers less control over the flavor balance. For the closest match to the recipe’s profile, start with 2 teaspoons and adjust to taste.
Why did my jam turn out too runny or not set properly?
A runny jam is typically caused by insufficient cooking time or not reaching the gel stage (220°F/104°C). This happens because the natural pectin in the apples needs enough heat and sugar concentration to activate fully. The solution is to return the jam to a simmer and cook longer, retesting with the sheet or temperature method. To prevent this, always use a candy thermometer for a reliable, scientific measure of doneness.
PrintDelicious Apple Pie Jam Recipe Easy
Ingredients
- 6 cups peeled, cored, and finely chopped apples (about 6 medium)
- 4 cups granulated sugar
- 1 cup packed brown sugar
- 1½ teaspoons ground cinnamon
- ½ teaspoon ground nutmeg
- ¼ teaspoon ground allspice
- ¼ teaspoon salt
- 2 tablespoons lemon juice
- 1 cup apple cider or apple juice
Instructions
- Boil jars and lids to sterilize. Keep warm until use.
- Combine apples, sugars, spices, salt, lemon juice, and cider in a large pot. Stir well and bring to a boil over medium-high heat. Reduce heat and simmer 30–40 minutes, stirring often, until thickened.
- Place a spoonful on a chilled plate. If it gels slightly after a minute, it’s ready.
- Ladle jam into hot jars, leaving ¼-inch headspace. Wipe rims, apply lids, and process in boiling water bath for 10 minutes.
- Let jars cool completely, check seals, and store.