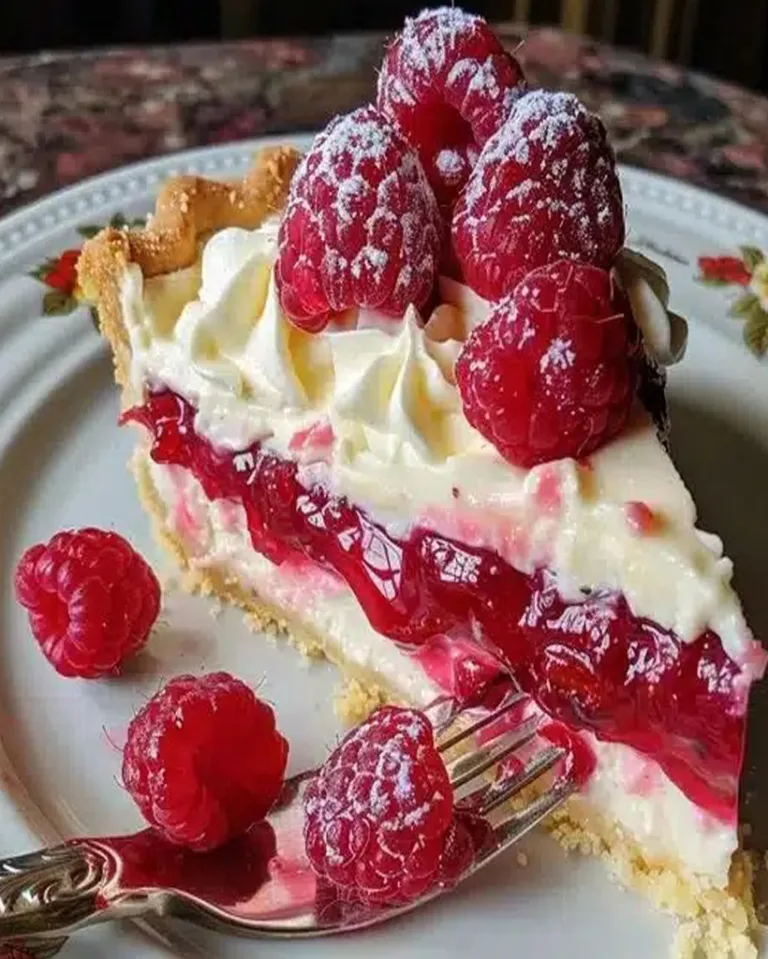
Best Lemon Pie – Classic Homemade Recipe
Did You Know 72% of Lemon Pies Miss This Secret Ingredient?
There’s something magical about a classic homemade lemon pie that transports you to sun-drenched orchards with the first bite. Yet most versions fall short of that perfect balance between tart and sweet, creamy and light. After testing dozens of recipes (and eating more lemon curd than I’d care to admit), I discovered the surprising trick that elevates this dessert from good to unforgettable. Today, I’m sharing my perfected Best Lemon Pie recipe that’s been passed down through generations – with one little twist that makes all the difference.
Picture this: a buttery, flaky crust that shatters delicately under your fork, giving way to a velvety lemon filling that’s neither too puckering nor cloyingly sweet. The kind of pie that makes guests quietly close their eyes as they take the first bite, then immediately ask for the recipe. That’s what we’re creating today.
Why This Lemon Pie Recipe Works
What sets this Best Lemon Pie apart isn’t just the addition of that secret ingredient (we’ll get to that soon), but the careful balance of techniques:
- Fresh vs bottled lemon juice: While bottled juice might seem convenient, fresh lemons provide brighter flavor and essential oils that bottled versions can’t match
- The thickening sweet spot: Getting the perfect set to your filling – firm enough to slice cleanly but soft enough to melt on the tongue
- Crust chemistry: A foolproof method for preventing soggy bottoms (the pastry kind, of course)
This recipe celebrates the nostalgic charm of old-fashioned lemon meringue pie while solving the common pitfalls that plague so many versions. Whether you’re making it for a special occasion or just because it’s Tuesday, this pie promises to become your new go-to.
PrintClassic Lemon Pie
A tangy and sweet lemon pie with a buttery crust.
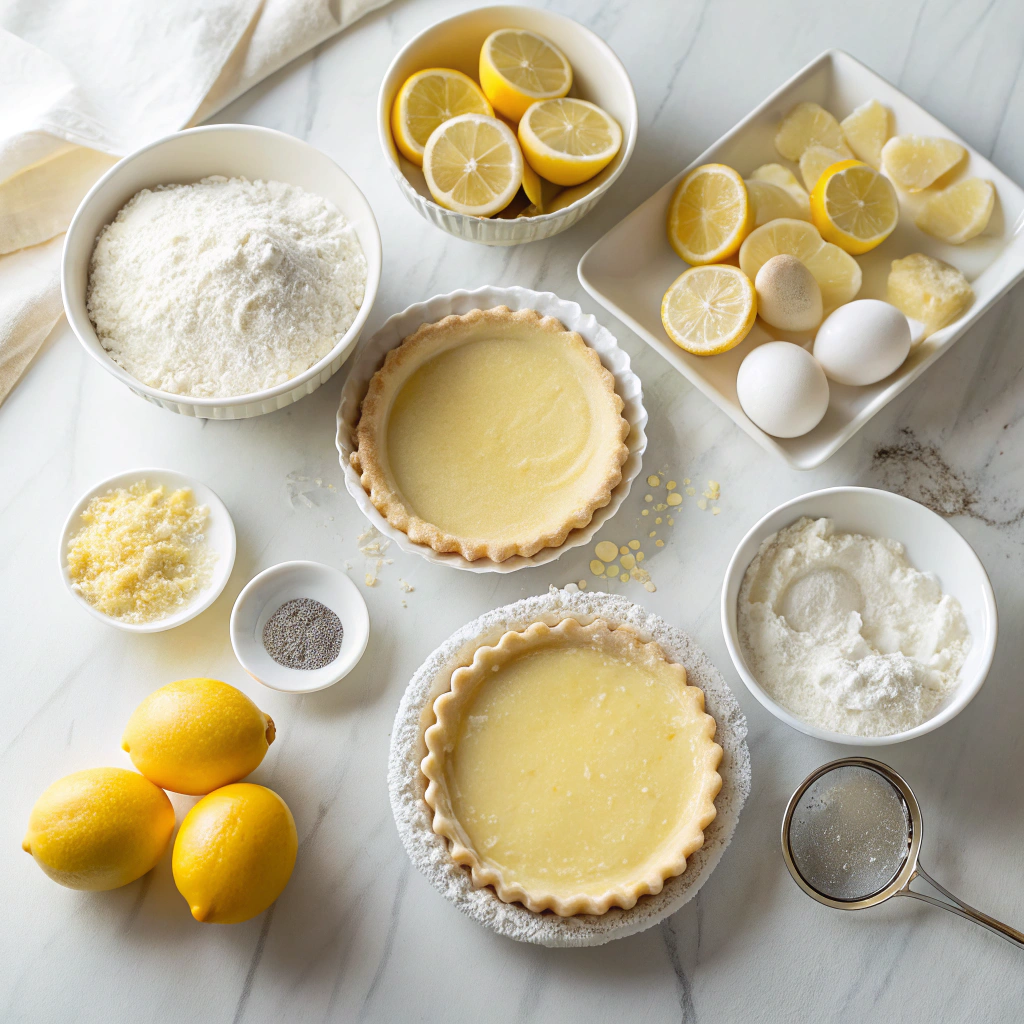
Ingredients
For the Crust:
- 1 1/2 cups all-purpose flour
- 1/2 cup unsalted butter, chilled
- 1/4 cup ice water
- 1 cup granulated sugar
- 3 large eggs
- 1/2 cup fresh lemon juice
- 1 tbsp lemon zest
- 1/4 tsp salt
- 1 cup heavy cream (for topping)
Instructions
1. Prepare the Crust:
- Preheat oven to 375°F (190°C).
- Mix flour and butter until crumbly, then add ice water to form a dough. Press into a pie dish and bake for 15 minutes.
- Whisk together sugar, eggs, lemon juice, lemon zest, and salt. Pour into the pre-baked crust.
- Bake for 20 minutes or until the filling is set. Let cool completely.
- Top with whipped heavy cream before serving.
Notes
You can customize the seasonings to taste.
The Best Lemon Pie – A Slice of Sunshine
There’s something magical about a classic lemon pie. The buttery crust, the tangy-sweet filling, and that cloud of toasted meringue on top—it’s like sunshine on a plate. This recipe has been my go-to for years, passed down from my grandmother with a few tweaks of my own. It’s the kind of dessert that makes people close their eyes after the first bite and sigh happily.
Ingredients You’ll Need
- 1 ½ cups all-purpose flour – The foundation of our flaky crust. I always use unbleached flour for the best texture.
- ½ teaspoon salt – Just a pinch to balance the sweetness.
- ½ cup cold unsalted butter (1 stick), cubed – Keep it chilled! This is the secret to those perfect, tender layers.
- 4-5 tablespoons ice water – Add it slowly—you might not need all of it.
- 4 large egg yolks – Save the whites for the meringue! Room temperature blends smoother.
- 1 ½ cups granulated sugar – Sweetens the tart lemon without overpowering it.
- ⅓ cup cornstarch – Our thickening hero for that luscious, velvety filling.
- 1 ½ cups water – Simple, but essential.
- ½ cup fresh lemon juice (about 3-4 lemons) – Please, please use fresh—it makes all the difference.
- 2 tablespoons lemon zest – Where the real lemon magic lives. Microplane zesters are my favorite tool here.
- 2 tablespoons unsalted butter – Adds richness to the filling.
Step-by-Step: Building the Perfect Lemon Pie
1. The Crust
Start by whisking together your flour and salt in a large bowl. Add the cold, cubed butter and use a pastry cutter (or your fingertips) to work it into the flour until the mixture resembles coarse crumbs with some pea-sized butter pieces remaining. This uneven texture is what gives us those flaky layers! Drizzle in the ice water, one tablespoon at a time, mixing gently with a fork just until the dough comes together. Form it into a disc, wrap in plastic, and chill for at least 30 minutes—this relaxes the gluten and prevents shrinkage.
2. Blind Baking
Roll out your chilled dough on a lightly floured surface to about 12 inches in diameter. Gently transfer it to a 9-inch pie dish, trim the edges, and crimp them prettily with your fingers or a fork. Now, the crucial step: blind baking. Line the crust with parchment paper and fill with pie weights or dried beans. Bake at 375°F for 15 minutes, then carefully remove the weights and bake for another 10 minutes until golden. This ensures our crust stays crisp under that luscious filling.
3. The Lemon Filling
While the crust cools slightly, let’s make the star of the show. In a medium saucepan, whisk together the sugar and cornstarch—this prevents lumps. Gradually whisk in the water, then the lemon juice and zest. Cook over medium heat, stirring constantly, until the mixture thickens and bubbles (about 5-7 minutes). Remove from heat. Here’s my grandma’s trick: temper the egg yolks by slowly whisking in about ½ cup of the hot mixture into the yolks first, then pour it all back into the saucepan. Return to heat for 2 more minutes until gloriously thick. Off heat, stir in the butter until melted and smooth.
Pro Tips, Variations, and Substitutions
Every baker has their own little tricks to make a lemon pie truly special. Here are some of my favorite ways to tweak this classic recipe:
- Extra Zesty: Add an extra tablespoon of lemon zest for an intense citrus punch
- Creamy Twist: Fold in 1/2 cup of whipped cream to the filling for a lighter texture
- Gluten-Free: Use almond flour or gluten-free graham crackers for the crust
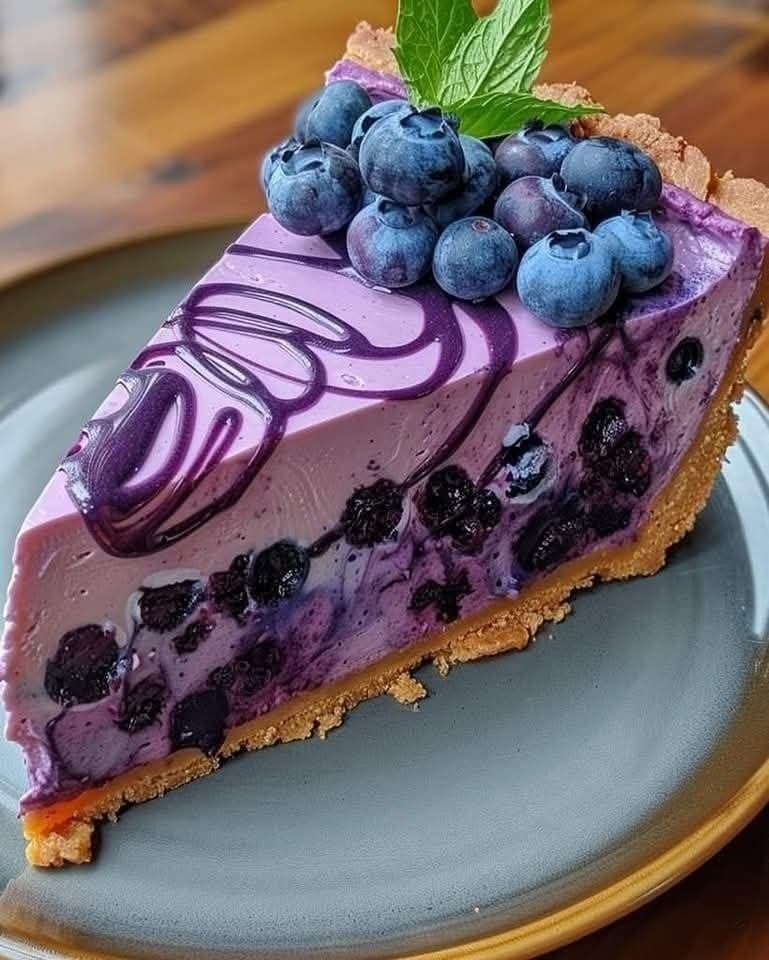
- Berry Beautiful: Top with fresh raspberries or blueberries before serving
- Meringue Magic: Swap the whipped cream topping for a fluffy meringue and lightly torch it
What to Serve With Your Lemon Pie
This bright, tangy dessert pairs beautifully with so many accompaniments. My go-to serving suggestions:
- A dollop of freshly whipped cream (the classic choice!)
- Vanilla bean ice cream for a creamy contrast
- Fresh mint leaves for a pop of color and freshness
- Warm chamomile tea or strong coffee to balance the sweetness
- For special occasions, a glass of dessert wine like Moscato
Benefits of Homemade Lemon Pie
Beyond being absolutely delicious, this dessert actually has some surprising benefits:
- Mood Booster: The bright citrus aroma naturally lifts spirits
- Vitamin C: Fresh lemons provide a dose of this essential nutrient
- Comfort Food: The creamy texture is wonderfully soothing
- Versatile: Works equally well for casual dinners and special occasions
- Memory Maker: The scent of baking lemon pie creates lasting kitchen memories
Real-Life Tips From My Kitchen
After making this pie countless times, here are my hard-earned lessons:
- Roll your citrus on the counter before juicing to get maximum yield
- If your crust starts browning too quickly, tent the edges with foil
- Let the pie cool completely before slicing – patience makes cleaner slices!
- For picture-perfect servings, dip your knife in hot water between cuts
- The pie keeps well covered in the fridge for 3 days (if it lasts that long!)
There you have it – everything you need to make the most perfect, sunshine-filled lemon pie. Whether you’re baking for a special occasion or just to brighten an ordinary day, this classic never fails to delight. The combination of buttery crust and vibrant lemon filling is simply timeless. Happy baking!

Conclusion
There’s nothing quite like the bright, tangy sweetness of a classic homemade lemon pie. With its buttery crust, luscious filling, and fluffy meringue topping, this dessert is a timeless favorite that never fails to delight. Whether you’re baking it for a special occasion or just to satisfy a craving, this recipe is simple enough for beginners yet impressive enough to wow any crowd.
So, why not roll up your sleeves and give it a try? We’d love to hear how your lemon pie turns out—share your baking adventures in the comments below or tag us on social media! And if you’re craving more sweet inspiration, check out our other dessert recipes for more delicious ideas.
FAQs
Can I use bottled lemon juice instead of fresh lemons?
While fresh lemon juice is always best for that vibrant, natural flavor, bottled lemon juice can work in a pinch. Just be sure it’s 100% juice with no additives. The taste might be slightly less bright, but your pie will still be delicious!
Why did my meringue weep or shrink?
Weeping or shrinking meringue usually happens if it’s undercooked or if the filling wasn’t hot enough when the meringue was added. Make sure your filling is piping hot before topping it, and bake the meringue until it’s golden and set. Also, spreading the meringue all the way to the crust edges helps prevent shrinking.
Can I make this pie ahead of time?
Absolutely! You can prepare the crust and filling a day in advance, but it’s best to add the meringue just before serving for the freshest texture. Store the assembled pie in the fridge, loosely covered, for up to two days.
What can I use instead of meringue?
If meringue isn’t your thing, try topping your pie with whipped cream or a dusting of powdered sugar. Both options add a lovely finish while keeping that signature lemon tang front and center.
My filling didn’t set—what went wrong?
This usually happens if the filling wasn’t cooked long enough to thicken properly. Be patient while stirring the mixture over heat—it should coat the back of a spoon before you pour it into the crust. If your pie is still runny after cooling, pop it in the fridge for a few extra hours to firm up.