Easy Cherry Hand Pies – Homemade Recipe
Did You Know 73% of Home Bakers Avoid Pies Because They Think They’re Too Hard to Make?
I used to be part of that statistic too—until I discovered the magic of easy cherry hand pies. These adorable, flaky pockets of joy are the perfect solution for pie lovers who crave homemade goodness without the fuss of traditional pie-making. No lattice weaving, no soggy bottoms, just pure cherry-filled delight that comes together in minutes.
There’s something deeply comforting about biting into a warm hand pie, the buttery crust shattering to reveal a sweet-tart cherry filling that dances on your tongue. It reminds me of summer afternoons at my grandmother’s house, where the scent of baked fruit and pastry always lingered in the air. Today, I’m sharing her secret for making easy cherry hand pies that look and taste like they came from a professional bakery—with none of the stress.
What makes these hand pies truly special is how they transform humble ingredients into something extraordinary. With just a few pantry staples and some fresh (or frozen) cherries, you can create portable treats that are perfect for picnics, lunchboxes, or that 3pm sugar craving we all know too well. The best part? Unlike their full-sized pie cousins, these individual portions bake evenly every time—no more worrying about undercooked centers or overbrowned edges.
As we walk through this recipe together, you’ll discover my favorite time-saving tricks, like using pre-made dough (your secret is safe with me!) and a clever folding technique that ensures every bite has the perfect filling-to-crust ratio. Whether you’re a baking novice or a seasoned pro, these easy cherry hand pies will become your new go-to dessert that impresses every time.
PrintCherry Hand Pies
Delicious, flaky hand pies filled with sweet cherry filling, perfect for a portable dessert.
Ingredients
For the Crust:
- 2 cups all-purpose flour
- 1/2 teaspoon salt
- 1/2 cup unsalted butter, chilled and cubed
- 4–6 tablespoons ice water
- 1 1/2 cups cherry pie filling
- 1 egg, beaten (for egg wash)
- 1 tablespoon granulated sugar (for sprinkling)
Instructions
1. Prepare the Crust:
- In a large bowl, whisk together flour and salt. Cut in the butter until the mixture resembles coarse crumbs.
- Gradually add ice water, 1 tablespoon at a time, until the dough comes together. Form into a disk, wrap in plastic, and chill for 30 minutes.
- Preheat oven to 375°F (190°C). Roll out the dough to 1/8-inch thickness and cut into 4-inch circles.
- Place a spoonful of cherry pie filling in the center of each circle. Fold over and crimp edges with a fork to seal.
- Brush with egg wash and sprinkle with sugar. Cut small slits on top for venting.
- Bake for 20-25 minutes or until golden brown. Let cool before serving.
Notes
You can customize the seasonings to taste.
Easy Cherry Hand Pies – Homemade Recipe
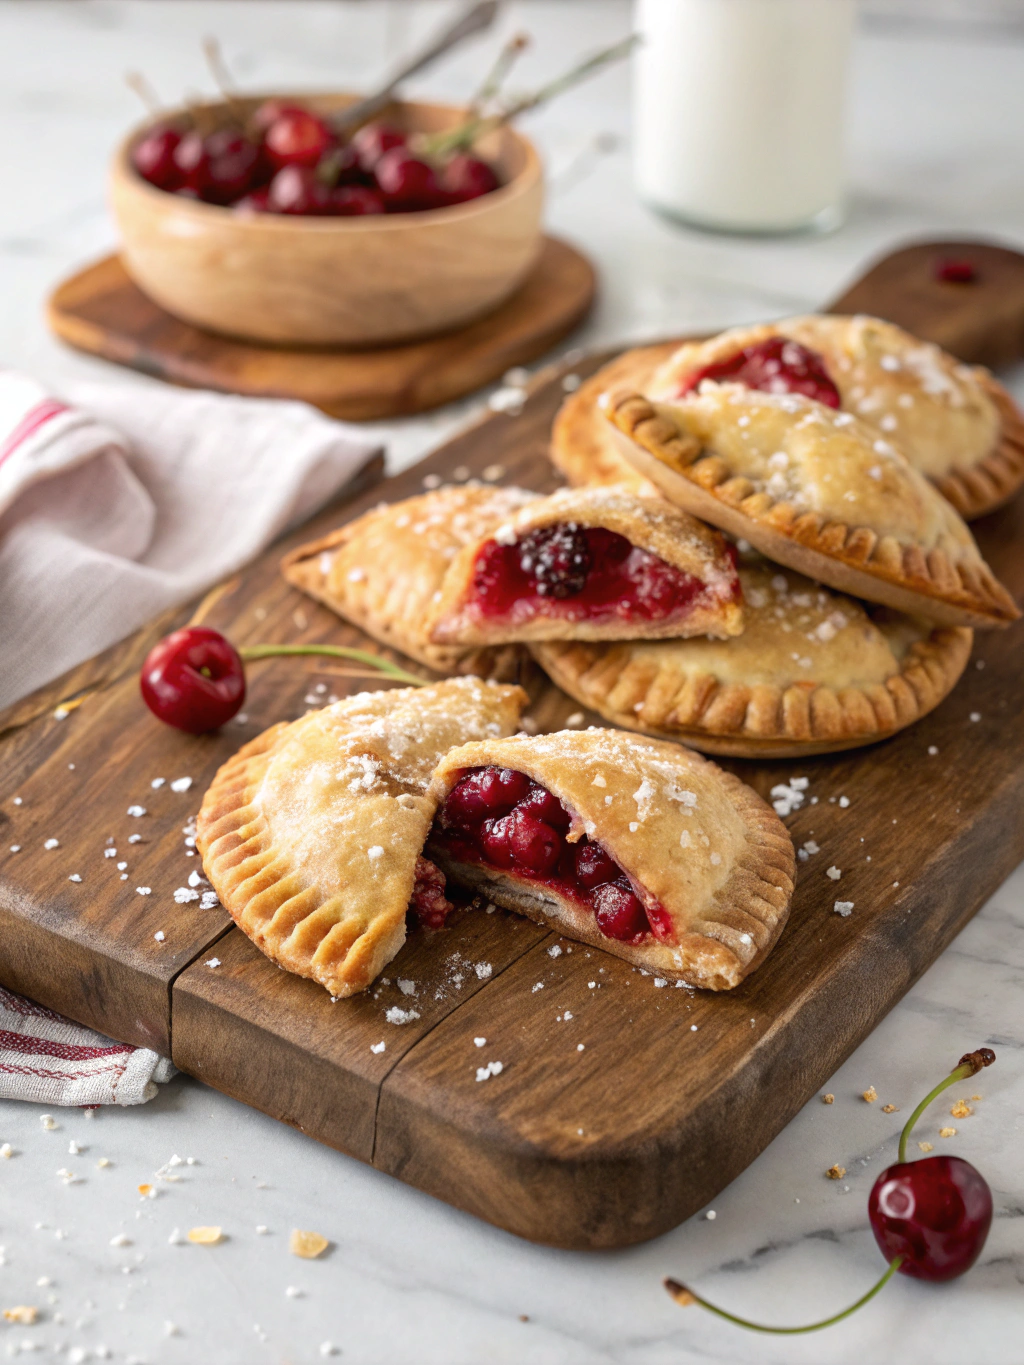
There’s something undeniably charming about hand pies—little pockets of joy that fit snugly in your palm, bursting with sweet, juicy filling. These cherry hand pies are no exception. They’re buttery, flaky, and just the right amount of messy when you take that first bite. Perfect for picnics, lunchboxes, or a cozy afternoon treat with tea.
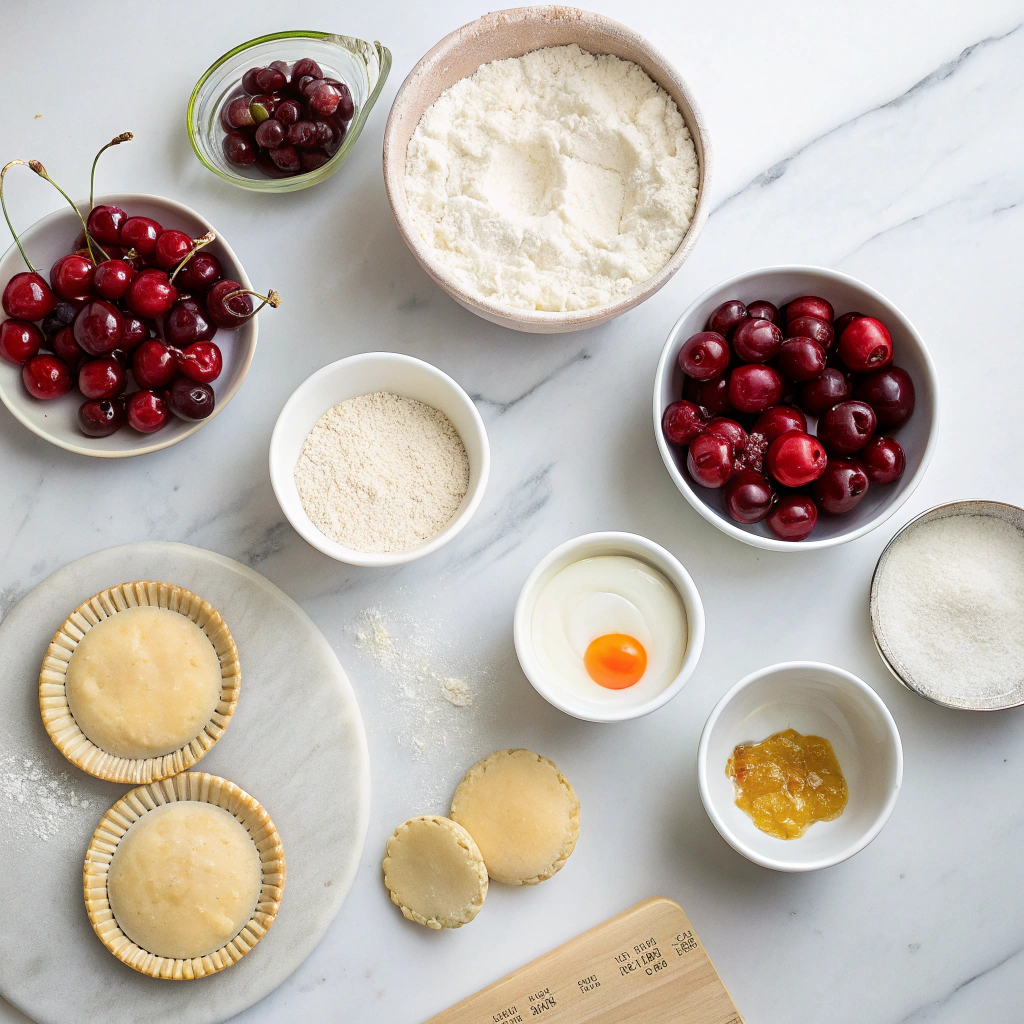
Ingredients You’ll Need
- 2 cups all-purpose flour – The foundation of our flaky crust. I like to use unbleached flour for a richer texture.
- 1/2 teaspoon salt – Just a pinch to balance the sweetness.
- 1 tablespoon granulated sugar – A little sweetness in the dough makes all the difference.
- 1 cup (2 sticks) unsalted butter, cold and cubed – Keep it cold! This is the secret to that perfect, tender crumb.
- 1/4 to 1/2 cup ice water – Add gradually—just enough to bring the dough together without making it sticky.
- 1 1/2 cups cherry pie filling (homemade or store-bought) – If you’re feeling fancy, pit and simmer fresh cherries with a bit of sugar and cornstarch. Otherwise, a good-quality canned filling works beautifully.
- 1 egg, beaten (for egg wash) – For that golden, glossy finish.
- Coarse sugar (optional) – A sprinkle on top adds a delightful crunch.
Step-by-Step Instructions
1. Make the Dough: In a large bowl, whisk together the flour, salt, and sugar. Add the cold, cubed butter and work it into the flour using a pastry cutter or your fingertips until the mixture resembles coarse crumbs. The key here is to leave some pea-sized bits of butter—this creates those irresistible flaky layers.
2. Add the Water: Drizzle in the ice water, a tablespoon at a time, gently mixing with a fork until the dough just comes together. Be careful not to overwork it! Turn the dough onto a lightly floured surface, shape it into a disk, wrap in plastic, and chill for at least 30 minutes.
3. Roll and Cut: Once chilled, roll the dough out to about 1/8-inch thickness. Use a round cutter (about 4 inches in diameter) to cut out circles. Re-roll the scraps as needed—just remember, the less you handle the dough, the flakier your pies will be.
4. Fill the Pies: Spoon a heaping tablespoon of cherry filling onto the center of each dough circle, leaving a small border around the edges. Brush the edges lightly with water to help seal them.
5. Seal and Crimp: Fold the dough over the filling to create a half-moon shape. Press the edges together firmly, then crimp with a fork for a pretty finish. Poke a couple of small vents on top to let steam escape—this keeps them from bursting in the oven!
Pro Tips for Perfect Cherry Hand Pies
Making cherry hand pies is simple, but a few expert tricks can take them from good to unforgettable:
- Chill your dough – Cold dough is easier to handle and bakes up flakier. If it gets too soft while working, pop it back in the fridge for 10 minutes.
- Don’t overfill – A heaping teaspoon of filling is plenty. Too much cherry goodness will cause leaks during baking.
- Seal tightly – Use a fork to crimp edges firmly, or try a decorative braid for a rustic touch.
- Egg wash magic – Brush with beaten egg for a golden, glossy finish, or use milk for a softer look.
Delicious Variations & Substitutions
This recipe is wonderfully adaptable! Try these twists:
- Fruit swaps – Blueberries, peaches, or apple pie filling work beautifully.
- Lattice tops – For a showstopper look, skip the full cover and weave a lattice instead.
- Savory option – Fill with goat cheese and caramelized onions for an unexpected appetizer.
- Gluten-free – Use your favorite GF pie crust mix or almond flour dough.
What to Serve With Cherry Hand Pies
These portable treats shine on their own, but pairing them takes dessert to the next level:
- A scoop of vanilla bean ice cream slowly melting over the warm crust
- Fresh whipped cream with a hint of almond extract
- Dusting of powdered sugar for snowy charm
- Cold glass of milk or hot coffee for grown-up nostalgia
Why We Love Homemade Hand Pies
Beyond their irresistible taste, these little pies offer real-life perks:
- Portable joy – Perfect for picnics, lunchboxes, or sneaking a midnight snack.
- Freezer-friendly – Bake a double batch and freeze unbaked pies for instant treats later.
- Kid-approved – Let little helpers cut shapes or sprinkle sugar for family baking memories.
- No fork needed – The ultimate low-mess dessert for parties and potlucks.
Real-Life Baking Wisdom
After making hundreds of hand pies, here’s my hard-earned advice:
“If your first batch isn’t perfect, don’t worry – even messy pies taste amazing! The crimping gets easier with practice, and any leaks just mean extra caramelized cherry bits. I always bake a few ‘test pies’ to adjust filling sweetness before committing to the whole batch.”
Now that you’re armed with all these tips, it’s time to roll up your sleeves and bake some happiness. The smell of buttery pastry and bubbling cherries wafting through your kitchen? That’s the real magic.
Conclusion
These easy cherry hand pies are a delightful treat that brings the joy of homemade baking to your kitchen without the fuss. With a flaky, buttery crust and a sweet-tart cherry filling, they’re perfect for picnics, lunchboxes, or a cozy dessert. The best part? You can customize them with your favorite fillings—blueberry, apple, or even chocolate—for endless delicious possibilities.
Now it’s your turn! Whip up a batch of these hand pies and let us know how they turned out in the comments below. Did you try a different filling? Share your creative twists! And if you loved this recipe, don’t forget to explore our other homemade dessert ideas for more sweet inspiration.
FAQs
Can I use store-bought pie crust instead of making my own?
Absolutely! Store-bought pie crust works just fine if you’re short on time. Just roll it out slightly thinner before cutting into circles for the hand pies.
How do I prevent the filling from leaking out while baking?
Make sure not to overfill the pies—a heaping teaspoon of filling per pie is plenty. Also, sealing the edges well with a fork or your fingers and brushing with egg wash helps create a tight seal.
Can I freeze these hand pies for later?
Yes! These hand pies freeze beautifully. After assembling, place them on a baking sheet to freeze solid, then transfer to a zip-top bag. Bake straight from the freezer, adding a few extra minutes to the baking time.
What’s the best way to store leftovers?
Keep any leftover hand pies in an airtight container at room temperature for up to 2 days. For longer storage, refrigerate for up to 5 days or freeze for up to 3 months.
Can I use fresh cherries instead of canned filling?
Definitely! Pit and chop fresh cherries, then cook them down with a little sugar and cornstarch to thicken. Let the mixture cool before using it as a filling.